When Rhys and Janeen moved to Wellington in the early 1990s, he bought with him some gorgeous wee NZ120 models and began building what became a couple of quite wonderful modules based on Cass. In short order he'd talked me into building a DJ, a DG and a small piece of scenery. Then came the gorge, a exhibition and then all hell broke loose until I left NZ in 96. When assembled, the layout was an oval with Otaki yard acting as visible staging on one side and Cass on the other. The layout proved a real crowd pleaser and we had a lot of fun operating it with helpers Rod Murgatroyd (Mr Electronics Whiz), Evan B, and Keith Archibald being regulars from memory. We wrote a number of articles about NZ120 and the layout which were published in the NZ Model Railway Journal during the first half of the 1990s.
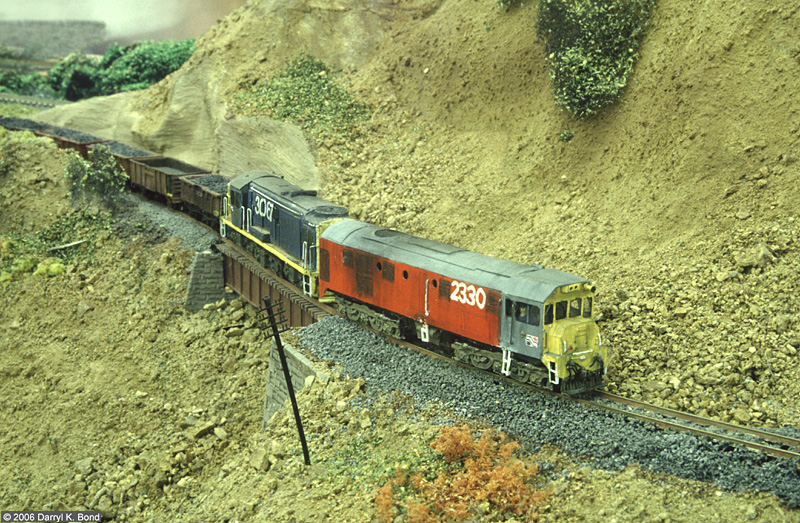
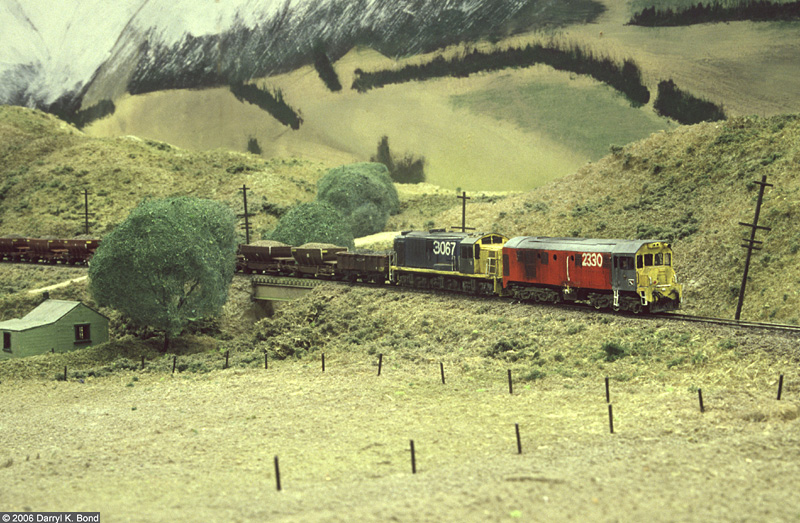
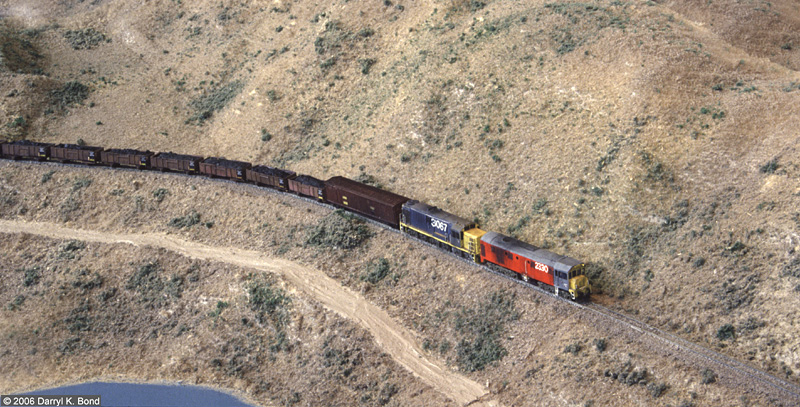
My first two NZ120 locos, DG 2330 and DJ 3067 on my short-lived "Otago Central" 6x1 foot module which appeared in our early exhibitions in 92/3. I always liked watching the trains coming through the scene at this angle.
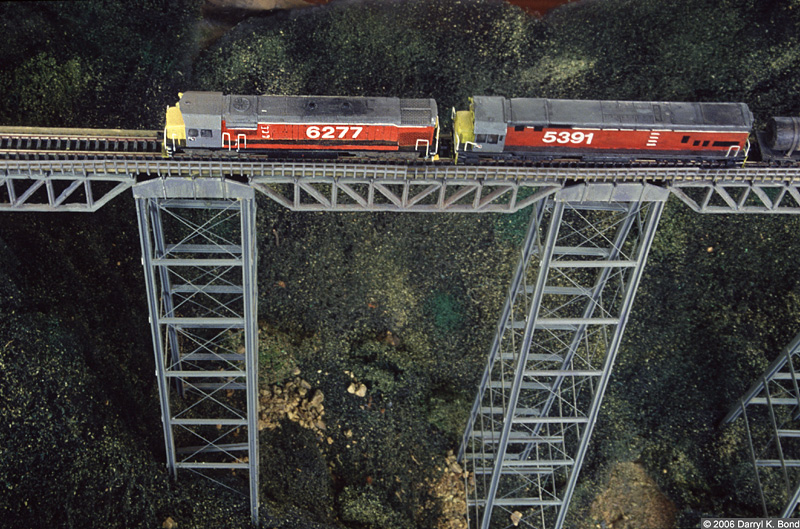
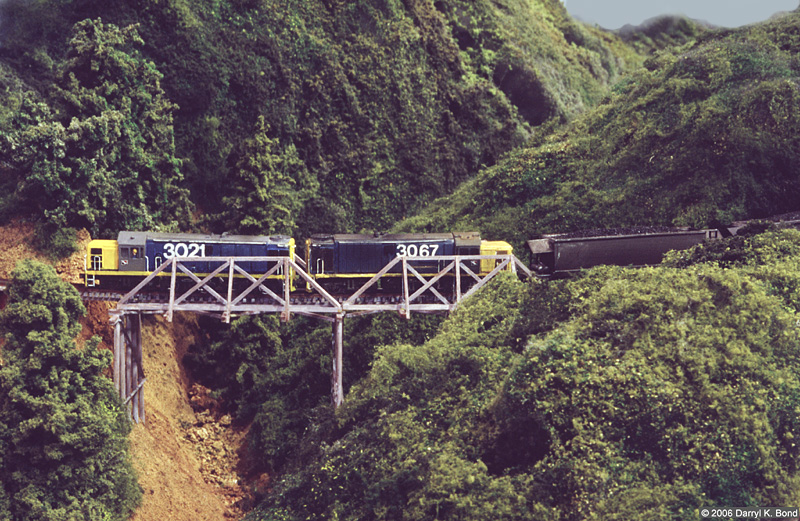
DF 6277 and Rhys' DX 5391 head across the spectacular Makatote viaduct, hundreds of millimetres above the valley floor. This contraption was based upon a steel curtain rail supporting the track, which was encased in a pretty hefty customwood module,
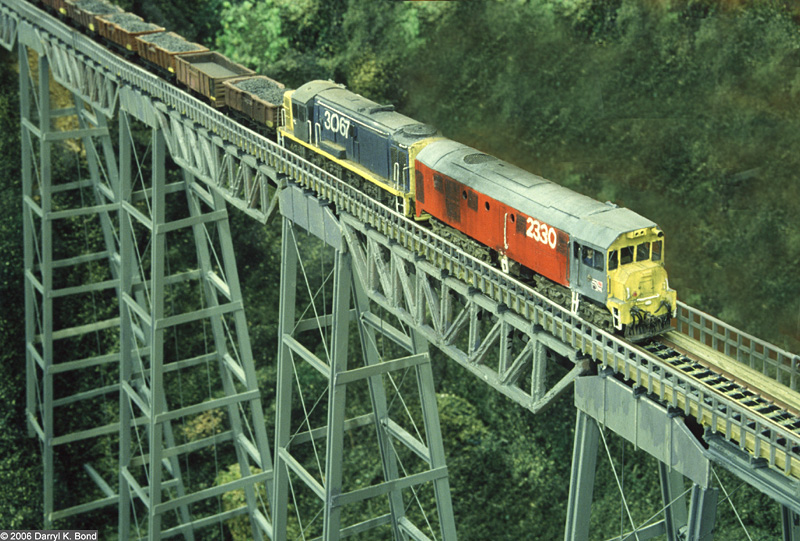
Making the crossing. Backdrop courtesy Adobe Photoshop as we hadn't invented backdrops at this stage. The viaduct has cast trusses attached to the curtain rail and the legs were fabricated from Plastruct shapes and wire. Not terribly pretty close up, but impressive enough from the rigourously enforced two-foot minimum viewing distance.
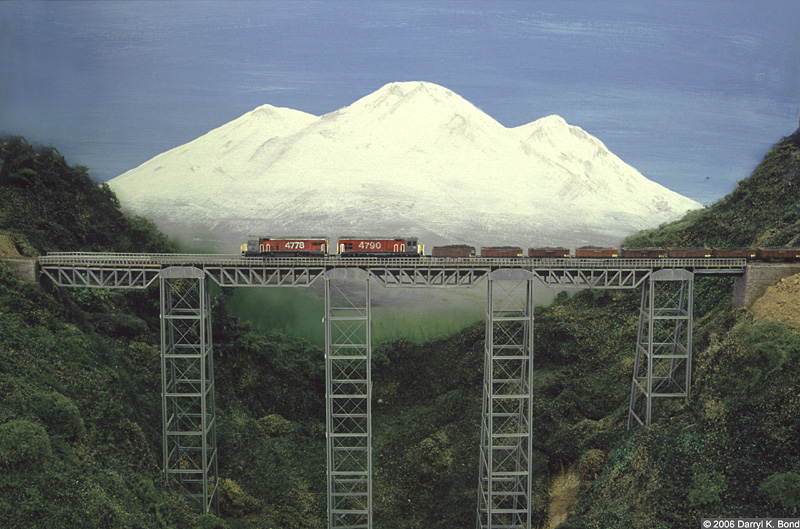
Twin DCs cross the viaduct heading for Cass after this rather cheesy yet dramatic backdrop was painted. One of the exhibitions was held shortly after Mt Ruapehu erupted, so a token piece of fluffy cotton wool was added to the mountain for that one...
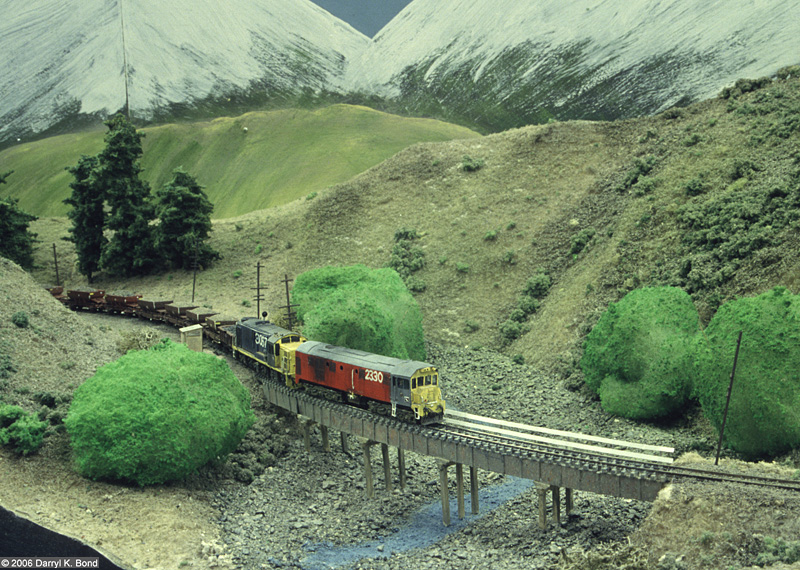
At an early exhibition at Wainuiomata a DG/DJ coal train has left the 6x1 foot Central Otago section, crossed the viaduct and is now threading through the "Karangahake gorge" module based on that neat pic of the real thing by Norm Daniel. This particular exhibition was held before the Cass modules were completed so the tracks around the back completing the loop of track were constructed 'on site', stapled to scraps of wood and cardboard, much to the horror of the owners of more professional exhibits.
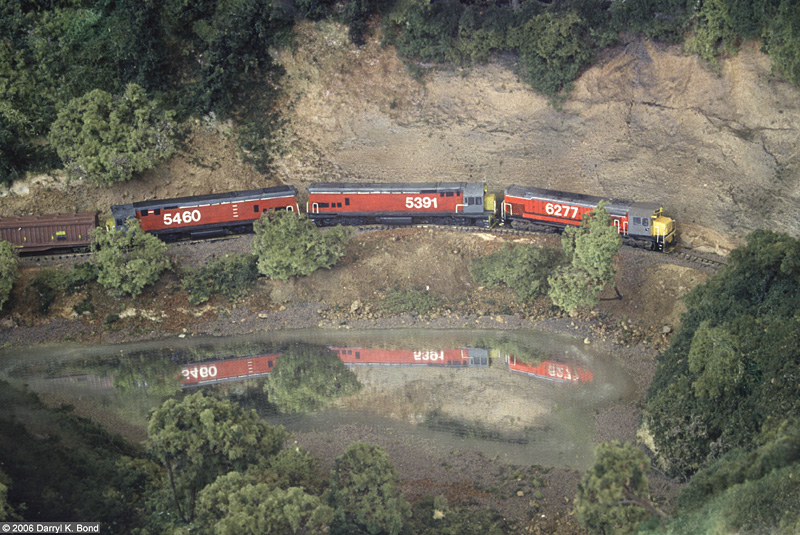
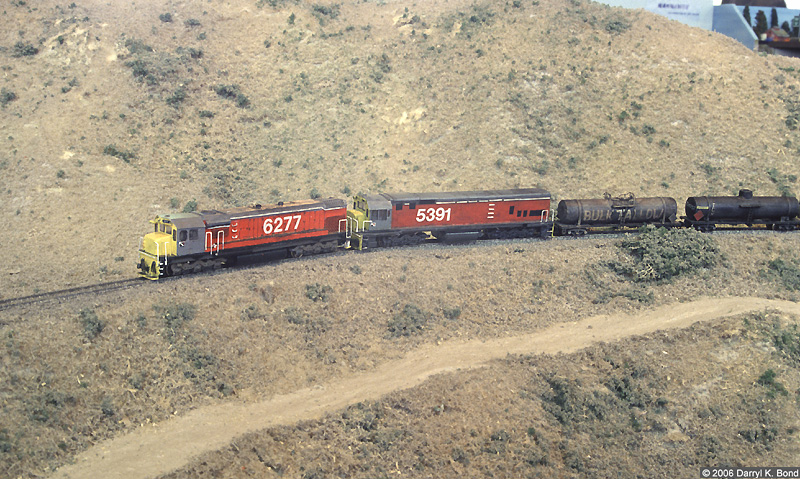
A DF+DX hauled freight grinds around the curves in the rather scenic gorge module.
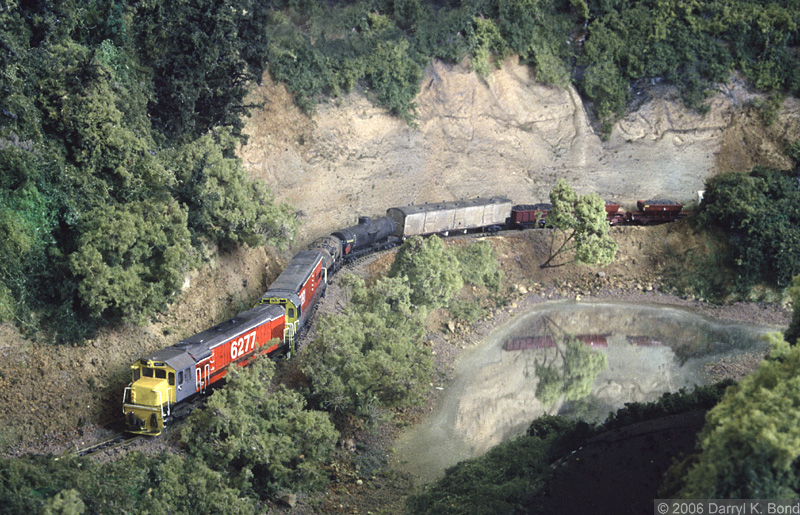
A triple headed freight poses in the gorge. Most trees on the layout are gorse or other likely twiggage sprayed black, then with spray-glue, then coated with ground foam, sprayed with glue and some green paint. The mirror-like lake is (you guessed it) a mirror.
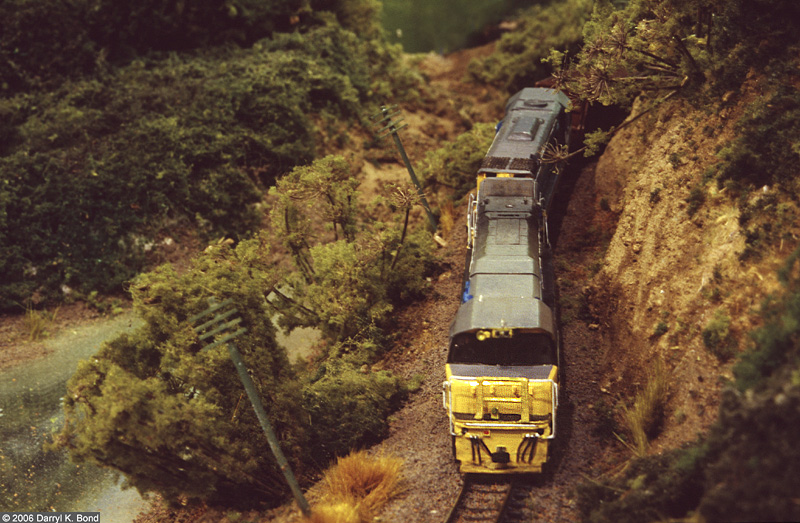
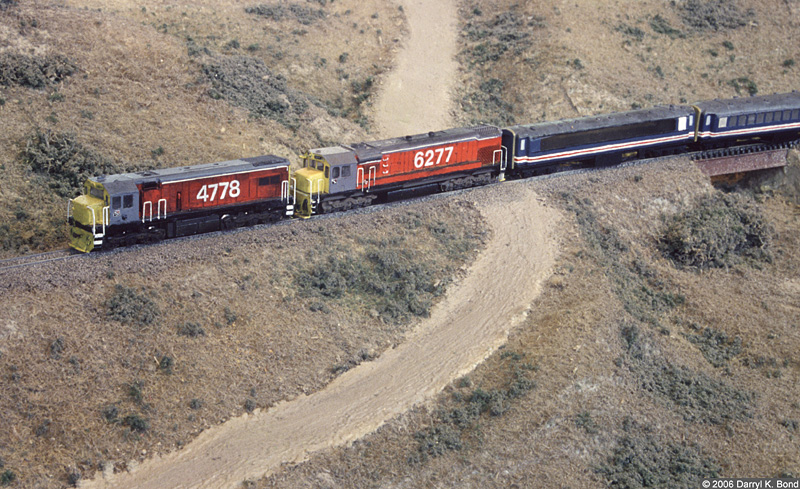
DXR 8007 and DFT 7145 wind their way around the curves beside the Karangahake river gorge.
A long coal train heads up the spectacular Cass bank which is a well photographed spot on the South Island Midland line. Poking its head above above the second DC, is the top of Rod Murgatroyd's automatic signal. The signal displayed green unless a train was coming from behind. After a train passed, it turned red for a period before reverting to green. All rather clever really. This pic more than any other conveys the feeling of 'space' Rhys built into these modules and shows some of the fairly dramatic train lengths that we ran, thanks to the Bog Cast LC Factory. The white box wagon and FM guards van that mark the rear of the train can be seen leaving Cass station after a crossing. Rhys' LCs are the nice ones, mine are the clunkers, but hey, it's the effect that counts!

Big power at Cass station. This was a favourite spot for photographs on Otaki to Cass. Here Rhys' twin DCs on a short unit coal train are overtaken by a goods headed by two DFs and a DFT.
A DG+DJ ballast train heads past the familiar road crossing near Cass.
A little further along, the train leaves Cass behind and crosses the Cass river with its ever-evergreen Willow trees. Rhys cast a number of YC wagon tops and we ended up making up 5 or 6 wagons each to form this nice work train.
Rhys' Tranz Alpine Express passes a photographically extended Lake Sarah en route to Cass under either a dramatic sunset or a nasty incandescent bulb
DCs on a loaded eastbound coalie pass the fishermen's cottages at Cass under that same unusual lighting. Looking at the gap between the trailing DC and the first wagon, I'm guessing this was a staged pic!
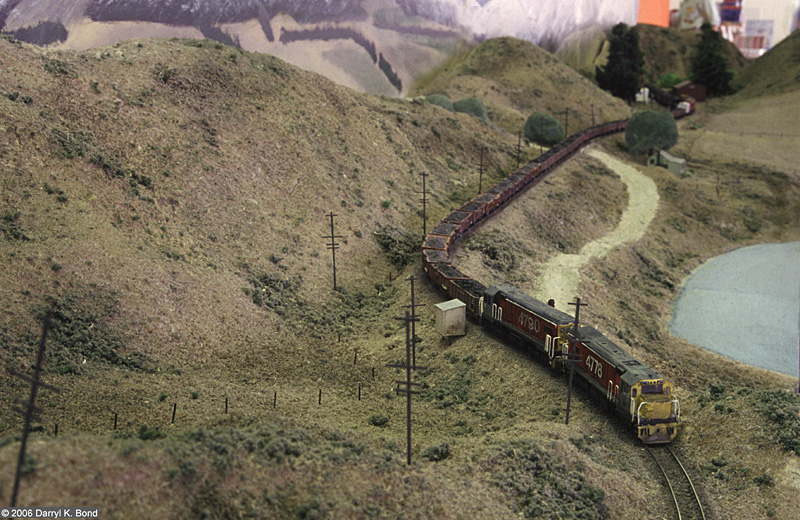
Another long string of LCs wheel down Cass Bank loaded with coal to replenish the mines on the West Coast. Rhys built a real openness into these modules that successfully conveyed a sense of 'trains in the environment'.
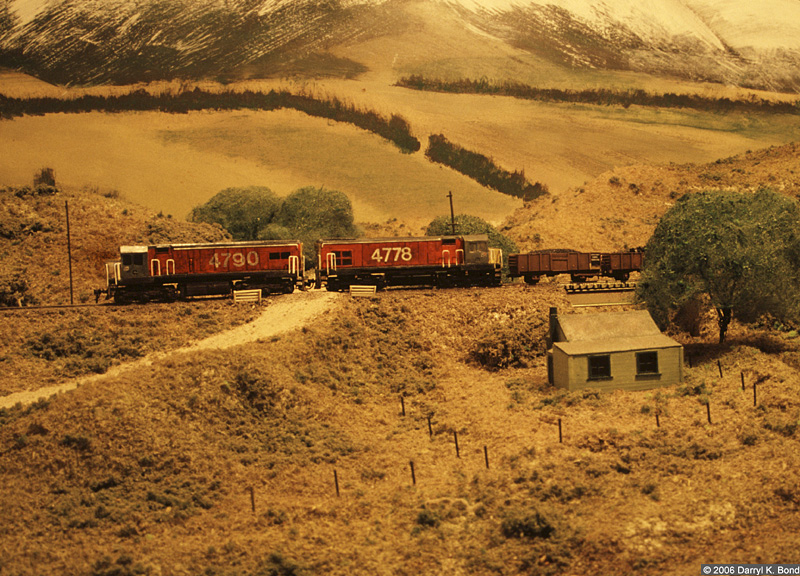
As for motive power, Rhys' cast DCs my paper and plastic DFs and a series of etched DXs formed the mainstay of the exhibition fleet, staged here in the early days before the Cass scenery was completed
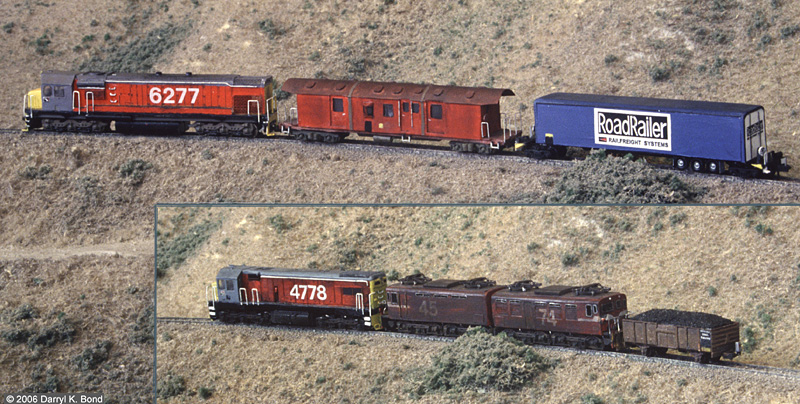
"Makers pics" - one of DB's DFs, FM van and slab sided roadrailer and one of Rhys' DCs, his EOs and an LC with flashing FRED

The apparently seldom photographed Otaki yard after most of the trains had been packed up. Normally this yard and the surrounding landscape was chocka with ours (and visitor's) rolling stock. It was not uncommon to see railcars in the ballast pit out of view to the right. A large green mechanical dinosaur inhabited the foliage in the top left corner of this photo and amused passing children long enough to stop them pushing the trains over.
Two DJs head a coal train around the big horseshoe curve at the Nov 95 Little Train Show in Christchurch. This was the last NZ120 module that I completed before moving to Australia and ending the Otaki to Cass saga
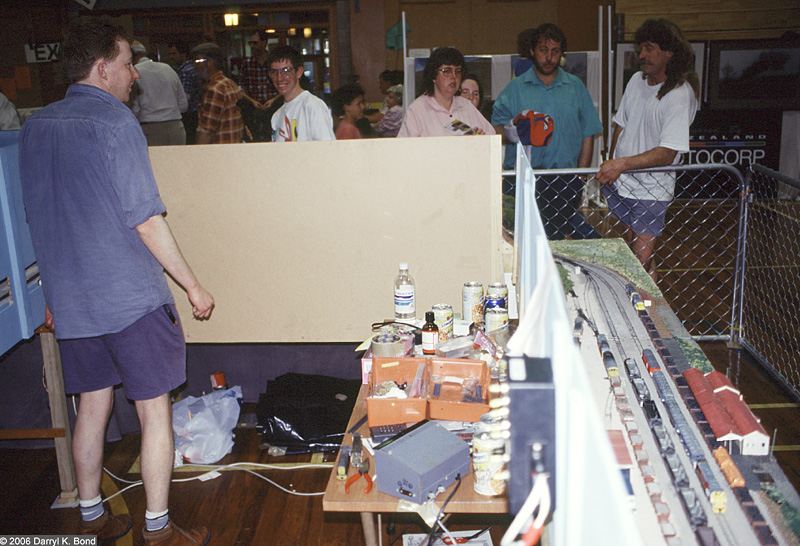
Rhys fends off the hecklers. Otaki yard is bustling with what looks like a long rake of LCs headed by a pair of DJs, a DF hauled passenger train with red FM van on the end for unknown reasons, the CBs (probably headed by DCs) and two DGs on the ballast train, with 6 other locos visible in the yard or on the table. Cass is out of shot at left, parallel to Otaki with the viaduct behind the camera. Rhys is probably standing in front of the module in the "two DJs on the trestle pic" above, which replaced the Otaki Bridge module at the end. The Otaki control box hanging off the backdrop in the foreground allowed trains to be isolated in all tracks and powered by two mainline controllers and a third yard controller, which was hardly ever used in exhibitions. Cass had a similar arrangement to allow the two controllers to be used and trains to be isolated in the loops. Most points were 'remotely' controlled by piano wire. Normally a long (Otaki could take a 45 LC train + two locos) and a short train (Cass could take 8 CBs and 2 locos, or the Tranz, or a short ballast train) would leave each end of Otaki and proceed to Cass, where the shorter train would enter the loop and be passed by the longer. The trains would then continue back to Otaki and cross again, perhaps with one being swapped out for another for variety. That concept of having two trains running at once was a real crowd pleaser - there was always something happening, but it wasn't just "one train going round and round". As can be imagined, a lot of point and block switching was going on in the background. Backdrops hide the ensuing chaos behind the scenes. Schweppes rather than Coke appears to be the available thirst quencher at this exhibition, outnumbering Sprite 6 cans to one on that table alone. Is that man on the right wearing an animal on his head?!